
Need more digital storage? Upgrade the NAS!
2021-02-01I suppose my love for the vast landscapes of the American west also carries over into my digital life. I like having extra storage space for code, photos, backups, email, audio recordings, random database experiments, and my music library. So I recently decided to upgrade the storage capacity of my network attachable storage (NAS). I also needed to move a bunch of files from some old external drives to one central location for easy access.
One of the nice things about a NAS device like this is that you can upgrade the drives over time. Once you have made the initial investment of the NAS itself, it's possible to upgrade the storage capacity as needed, so you don't have to spend too much on storage space up front.
Another interesting thing about NAS solutions these days is that they are just another computer on your network. The Synology OS is well-built, and the app store it comes with is convenient. This means you can do some really cool things like install a WebDAV server for your personal wiki.
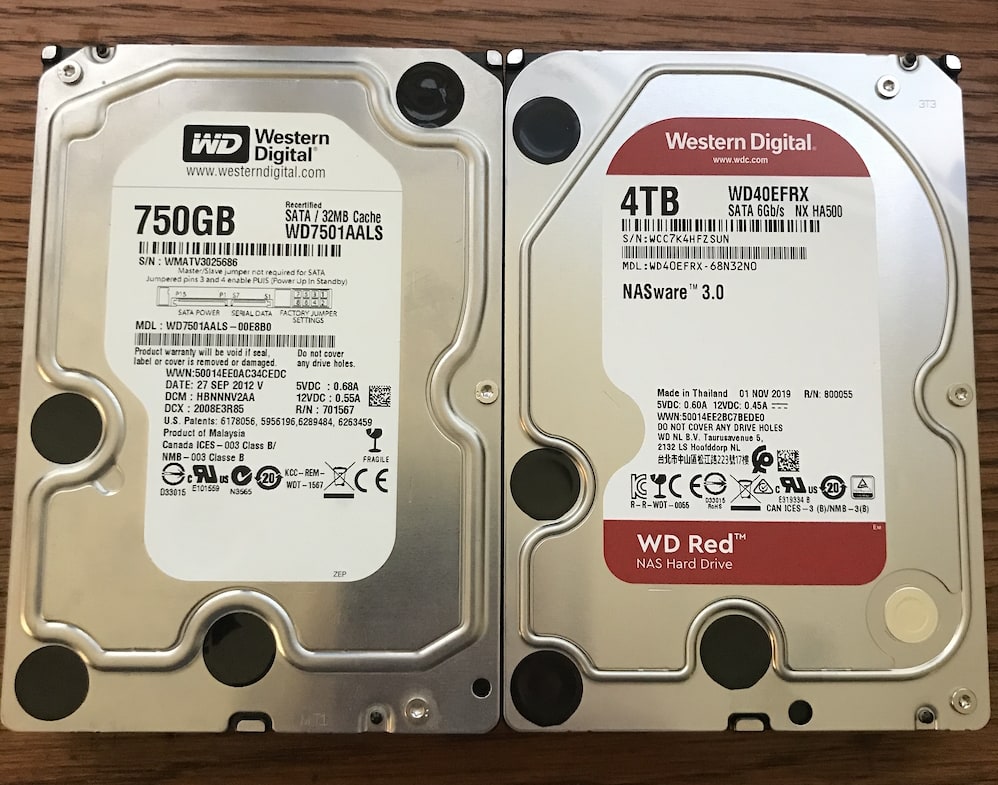
Before I bought a NAS, I relied mostly on external USB and firewire drives for extra storage. That started getting unwieldy, so I decided to try a NAS. I started with 750 GB drives, but after a few years I found I needed some more breathing room, and I decided to upgrade the storage capacity by replacing the disks themselves. Here's how the upgrade process went.
If you are skeptical about the upgrade-ability over time, fear not! RAID is designed to allow you to change out drives when needed. Personally, I like the peace of mind of using a RAID 1 (mirror) configuration so that if one of the disks fails, I don't lose any data, and the NAS beeps loudly and incessantly until I replace the dead drive.
I have set up my NAS to use the mode called: Synology Hybrid RAID (SHR) (With data protection for 1 drive fault tolerance). It's functionally equivalent to RAID 1. The nice thing about RAID is that it's fault-tolerant, upgradeable, and has performance benefits even with spinners instead of SSDs.
With a project like this, I definitely recommend checking out the official documentation before doing anything else, especially if you are unfamiliar with any part of the process. If the product is any good, there is usually vital information that can help you avoid common pitfalls. Synology has a really helpful in-depth doc for this here: Synology Docs.
Before you proceed with the upgrade, here's a few things you should know.
Important:
- Be cautious: This process worked specifically for the Synology DS216j in the hybrid RAID configuration. Other NAS devices may be different.
- Have a backup: This upgrade process does not delete existing data, but MURPHY IS OUT THERE, so make sure you have a full data backup in case something goes wrong.
- Check the status: Make sure the storage pool is in a "Normal" healthy status.
- Double check the docs on your make & model for things like drive compatibility and OS version compatibility. For example, DSM 3.0 or later is required for drives larger than 3 terabytes (3 TB)
- Replace drives one at a time: For RAID 1 (mirror) configurations, if you want the existing data on the old drives to remain on the NAS, you will need to replace the old drives one at a time, and power up the NAS between each drive replacement, so that the NAS software has a chance to rebuild the RAID array between each drive replacement.
- Don't use during upgrade: I don't recommend uploading or downloading any files from the NAS during the upgrade process if you can help it.
I chose the WD Red series drives for this upgrade. You can check out the drive-specs if you're curious. I like these because they come in a wide variety of spectacular sizes, they're specifically designed for NAS compatibility, they consume a little less power than standard desktop drives, and they are designed to have a longer overall lifespan than your typical desktop computer drive.
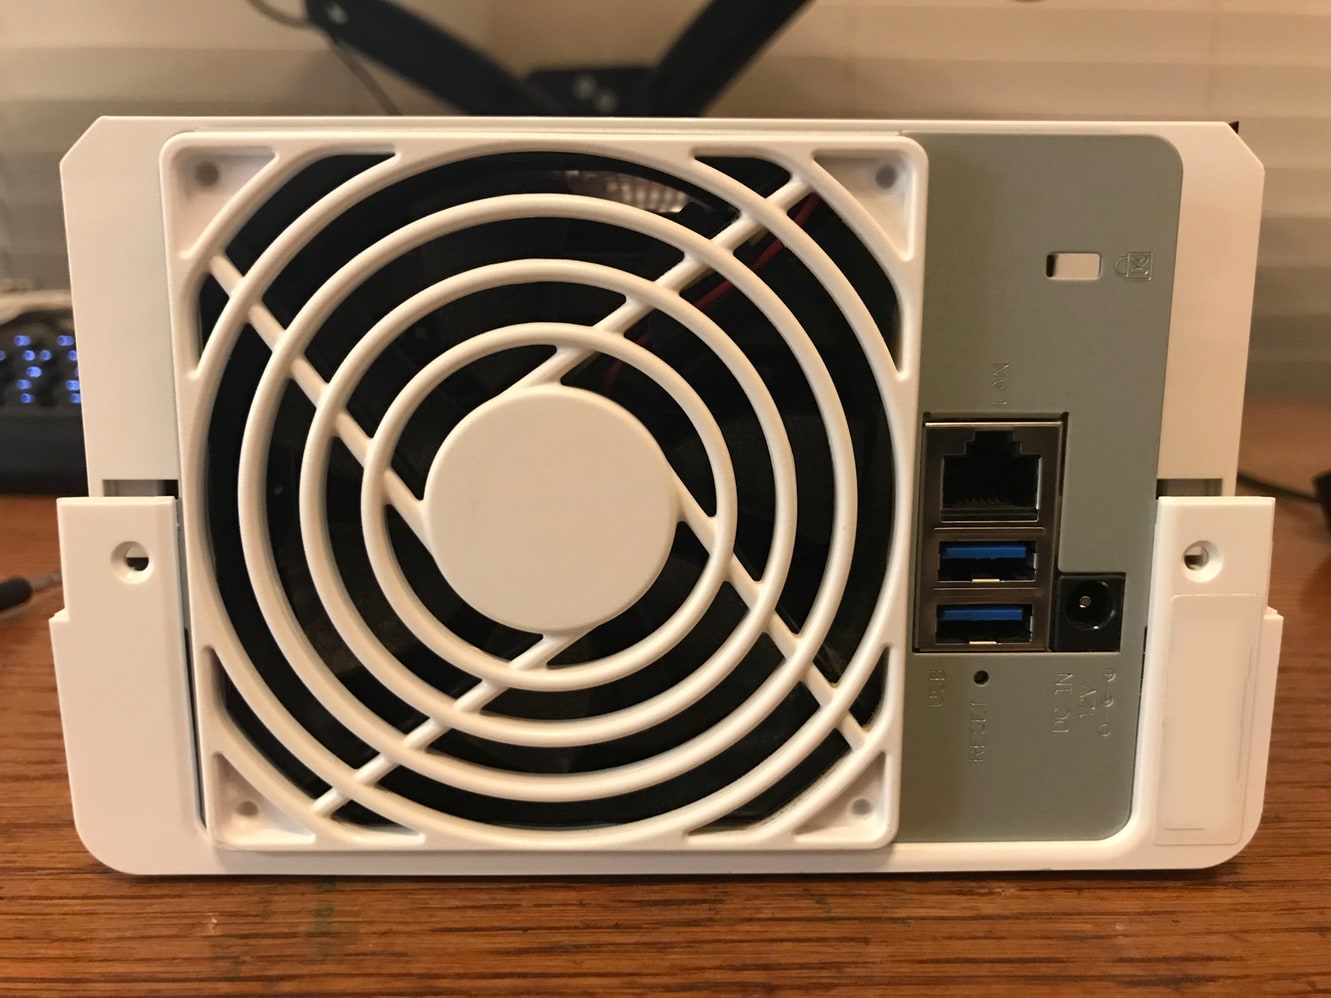
Step 1
Remove 2 screws on the back.
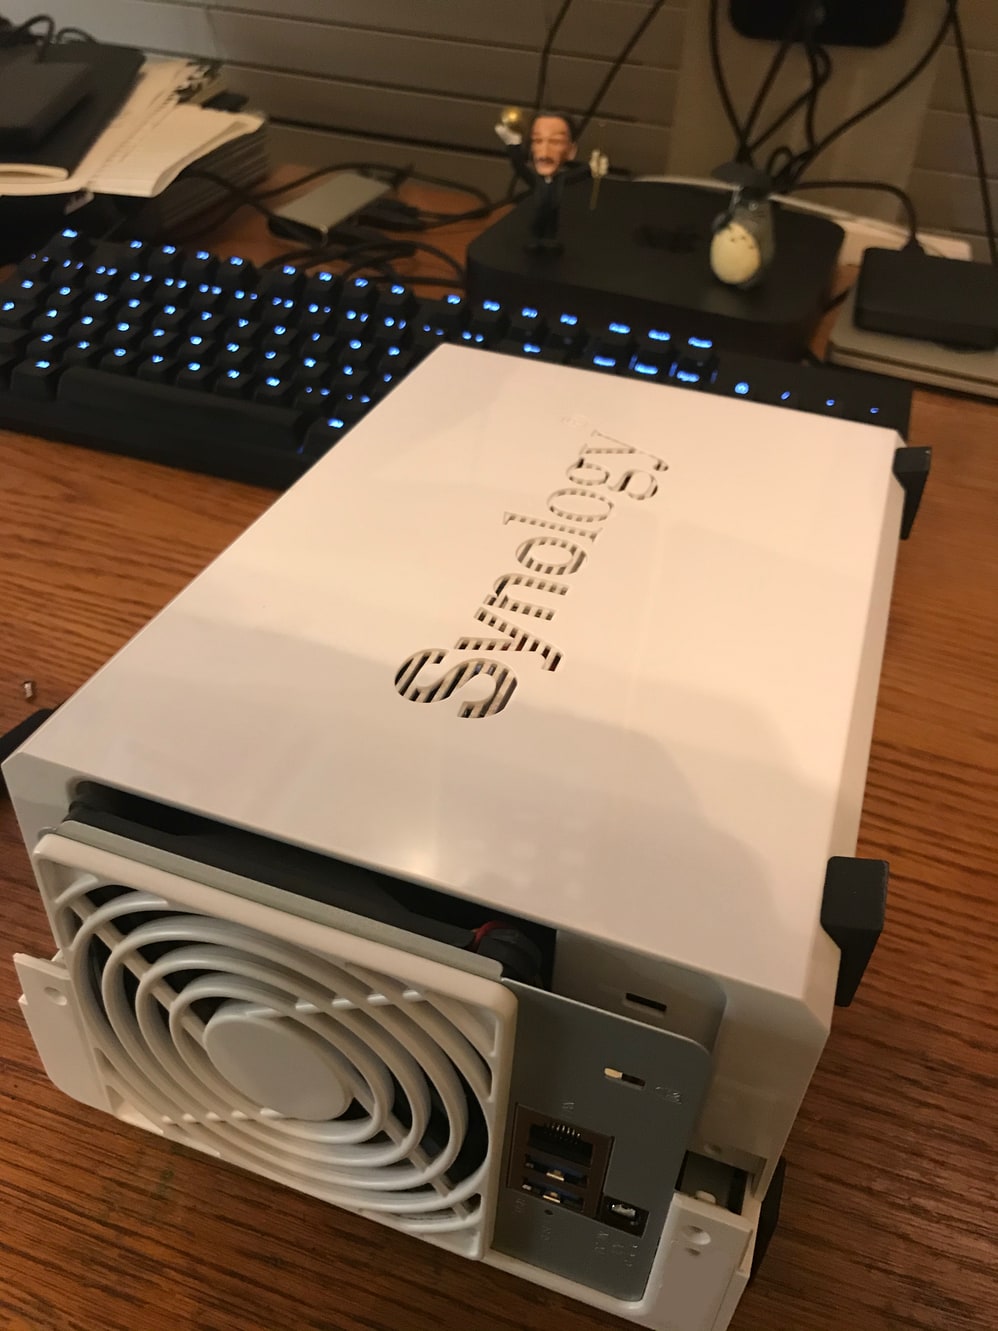
Step 2
Gently pry the internal frame backward, while sliding the chassis off of the internal frame.
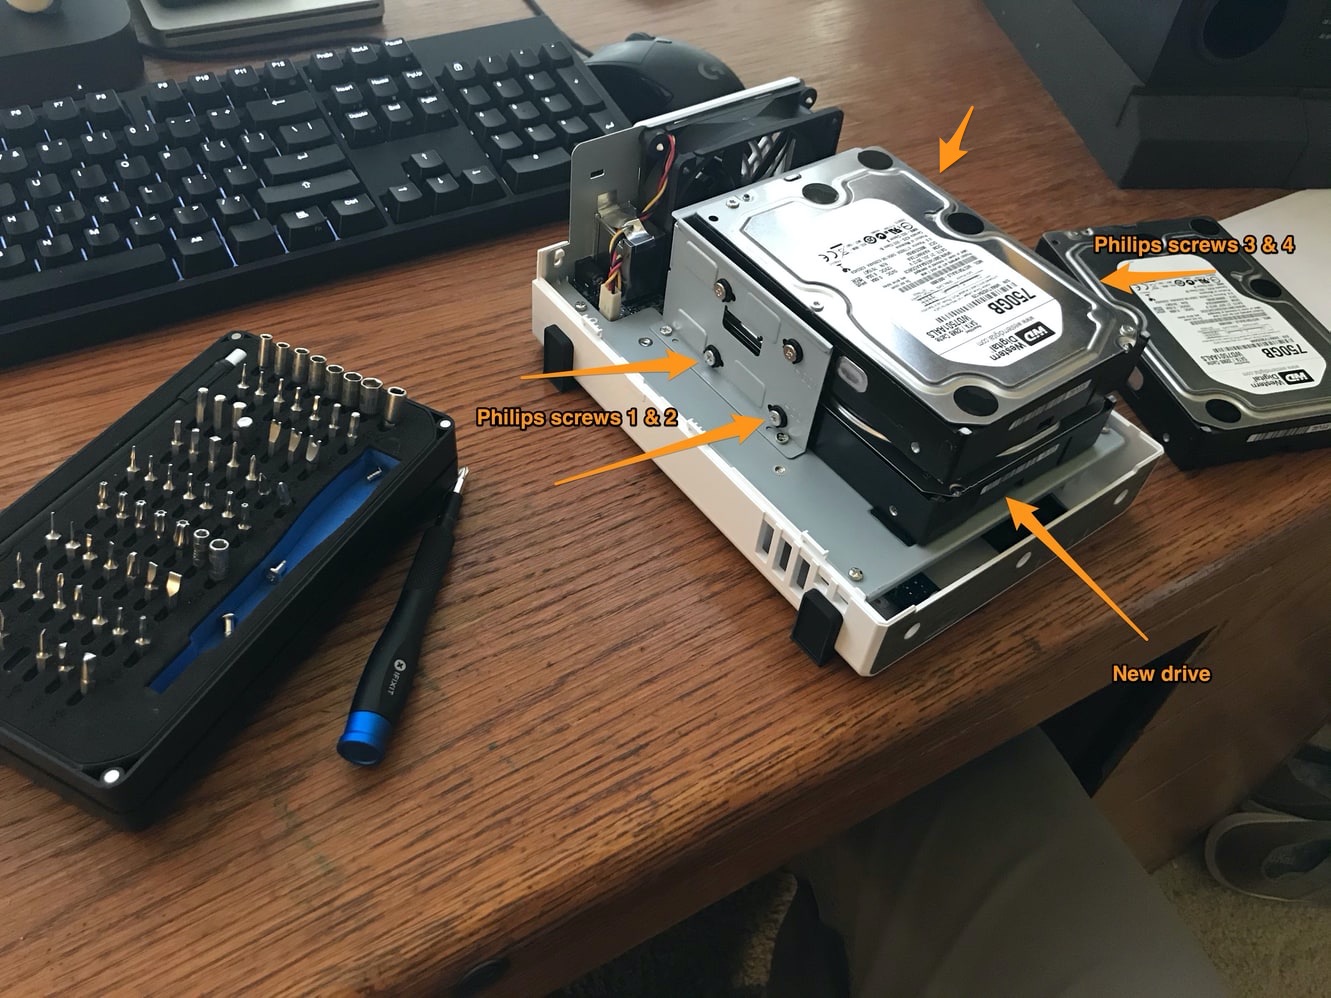
Step 3
Now that the case is opened up and the drives are exposed, remove the 4 screws holding the first drive in place. Then, gently tug on the drive to pull it free from the SATA ports.
Important
It's important to pull straight back with steady, even pressure so that you don't accidentally damage the plastic SATA ports. Avoid pulling with too much force on either side of the drive, or at an angle up or down.
Once the old drive is removed from the mounting bracket, slide in the new drive. Push it onto the SATA ports gently with steady, even pressure. The holes for the screws will line up well if the drive is fully connected to the SATA ports. Once it is, secure it with the 4 screws you previously removed.
Since this is the first of two drive replacements, you do not need to put the outer case back onto the NAS before you power it back up.
Once the new drive is securely in place, it's time to power up the NAS so that it can repair the now "broken" RAID array. During the repair process, existing data will be copied automatically from the other original drive onto the brand new drive you just inserted. Once the repair process is complete and the NAS status is healthy, you can power off the NAS once more and replace the other drive.
Quick Tip:
As a general rule of thumb, I find it useful to buy drives in pairs. One for day-to-day use, and one for a backup.
In this case, the RAID 1 mirror provides redundancy in case of a hardware failure. Lest you think this is paranoid, I also keep cloud backups. :) You can never really know when waiting for 4 TB of data downloading over the internet will work, or be a very bad day.
Step 4
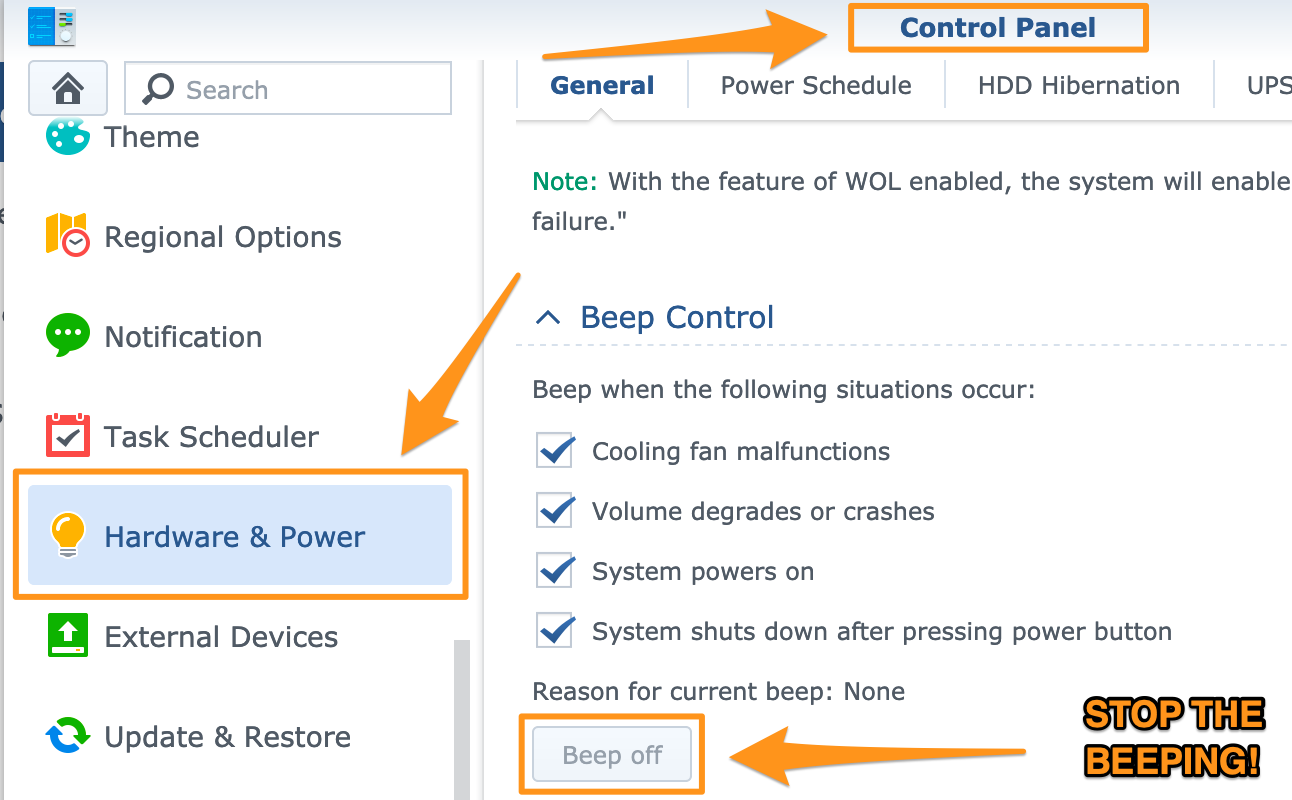
The first thing you'll notice when you power on the Synology NAS to repair the array is a semi-annoying, surprisingly loud BEEEEEEEEEEEP, indicating that something terrible has happened! A DRIVE HAS FAILED!!!!!!1! But don't worry, this is expected because you just replaced a drive, which "breaks" the existing RAID 1 mirror. So, in order to hear yourself think, you'll want to turn off the beeping. For your auditory pleasure, here's how to do it:
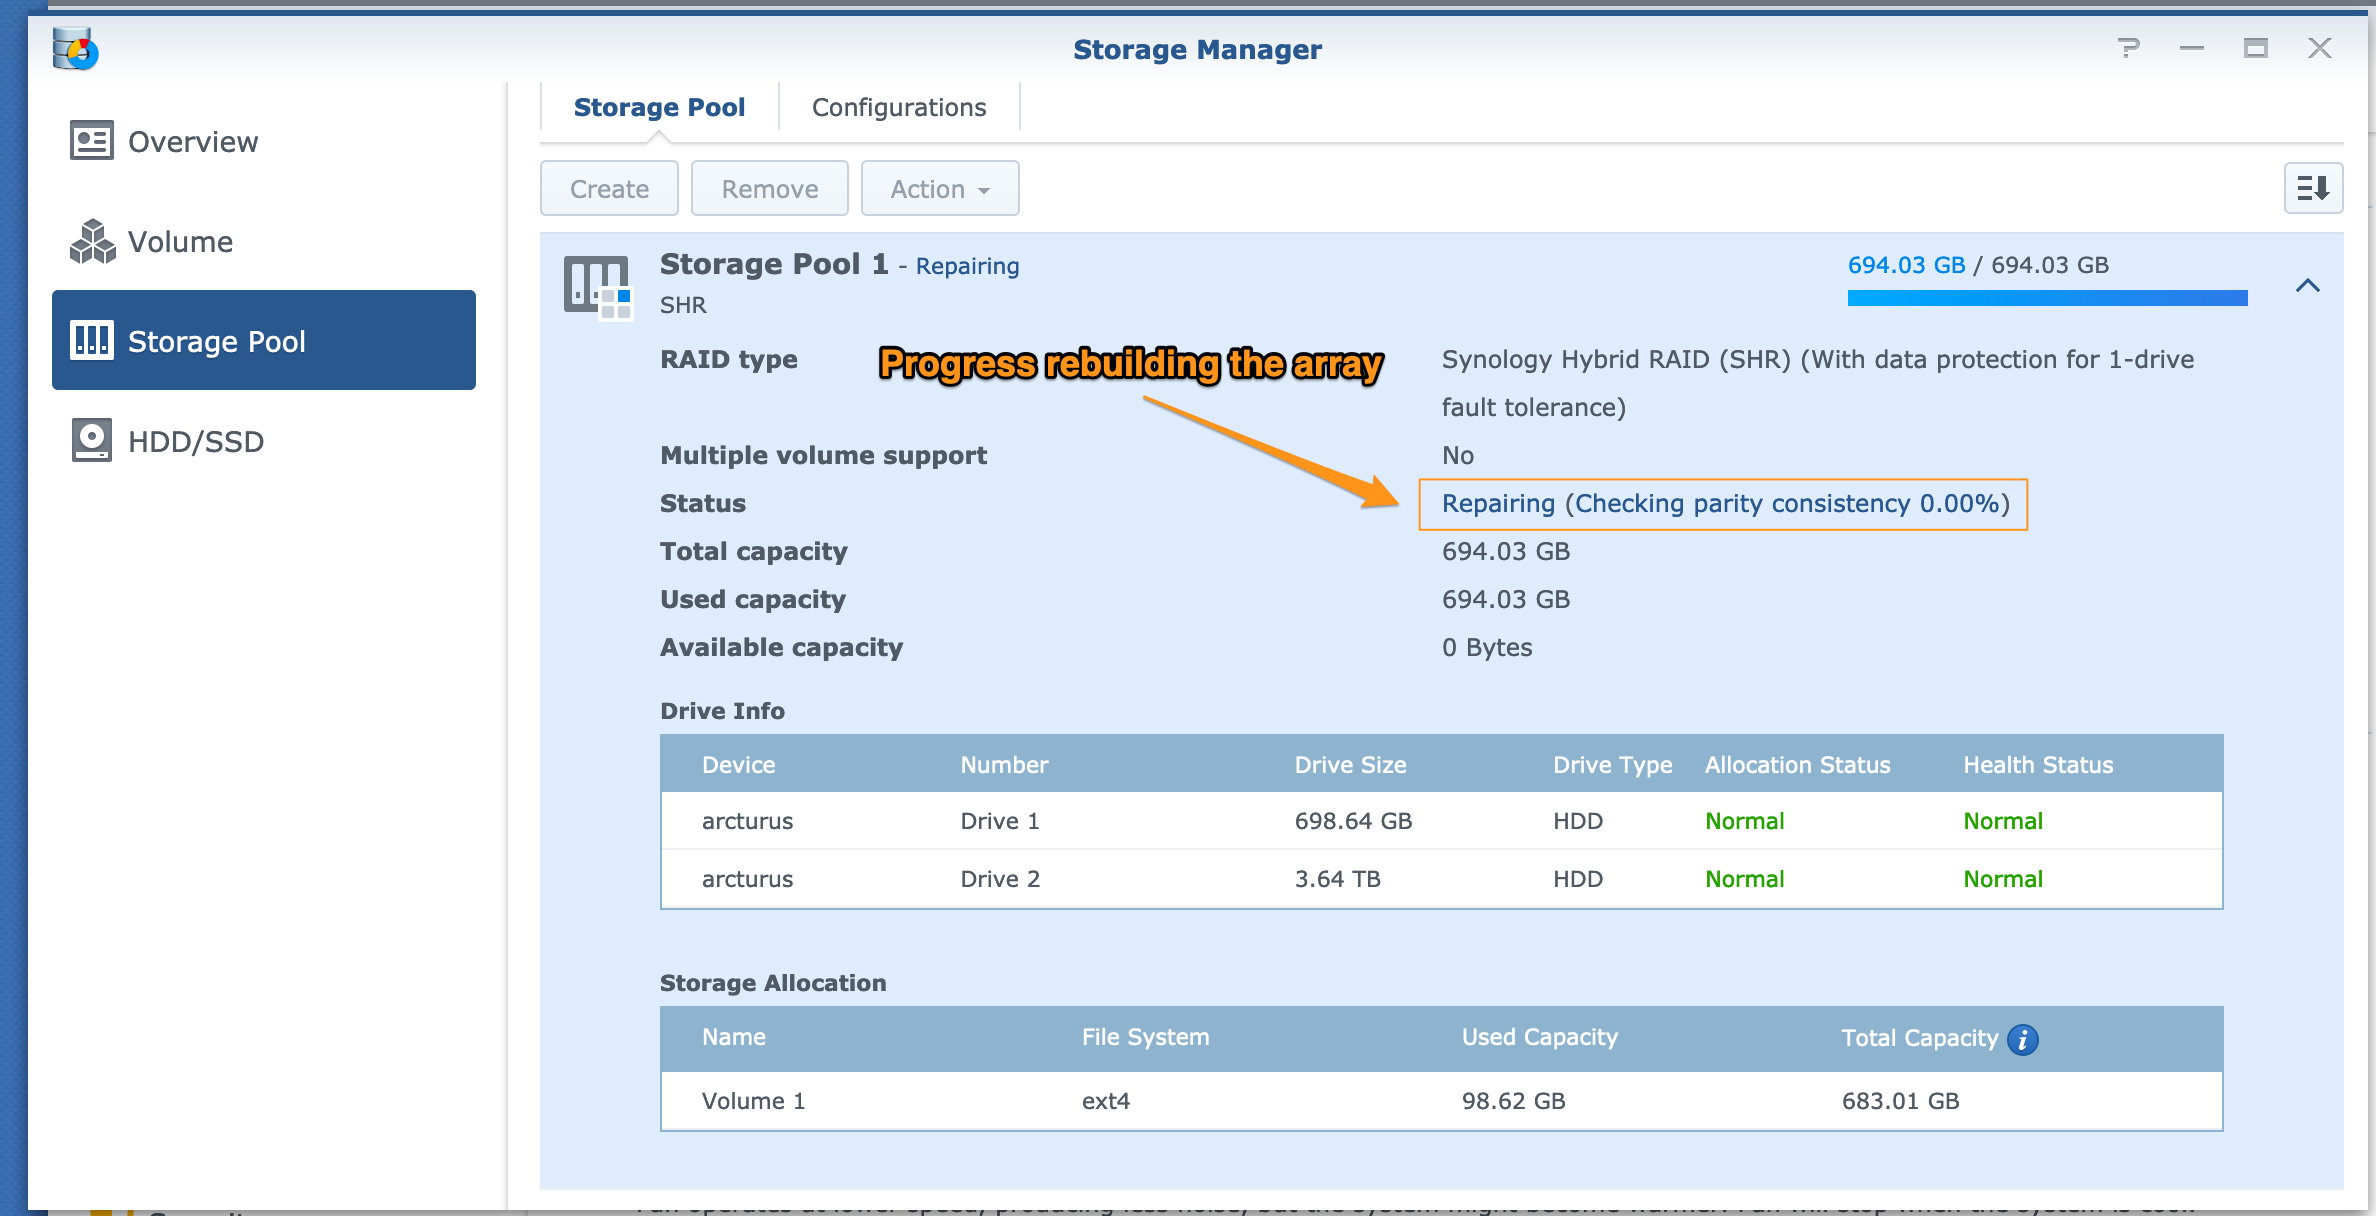
Once that is taken care of, head over to the "Storage Manager" in the main menu, and start the repair process. It will take some time so be patient. It's important to make sure the health status returns to normal before shutting down and replacing the other drive.
Rinse & Repeat
Once the repair process for the RAID array is complete, shut down the NAS as you normally would, and repeat steps 3 and 4 to replace the other drive in the array. You will, in fact, "break" the array again when you do this. And with that, comes more incessant beeping, followed by another quick "Beep off" button clicking extravaganza.
Note that total capacity will not be updated until this final repair process is completed.
And that's it! Capacity upgrade complete.
Quick Reference:
- Turning off the warning BEEP: Control Panel -> Hardware & Power -> Beep Control
- Synology Documentation
- Synology Hybrid Raid
- Drive specs